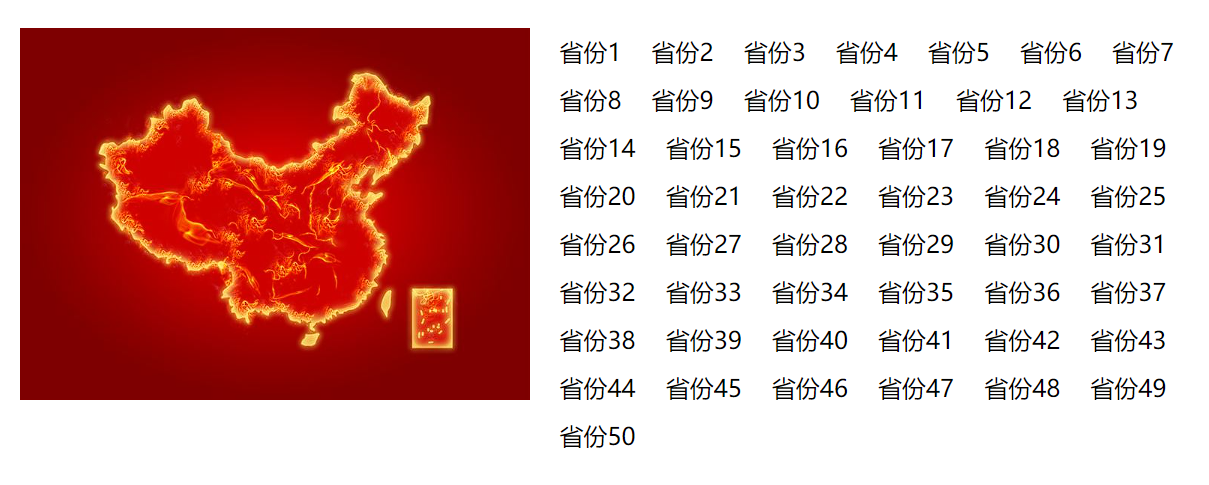
练习-使用 webpack 从 0 搭建工程
资料准备
请求地址:http://yuanjin.tech:5100/api/local 新地址:https://study.duyiedu.com/api/citylist
method:GET
query:
- parentId: 可选,若不填,则查询所有省份,若填写省份 id,则查询省份下的所有城市
实现目标

步骤思路
js
/*一、配置工程*/
1.先处理工程,区分环境,新建文件夹
2.添加clean html 插件,生成两个html模板,copy-webpack-plugin
3.安装webpack-dev-server,配置dev-server
4.开发服务器下不需要清空dist,所以将clean-webpack-plugin放在生产环境的配置文件中
5.解决plugins的合并覆盖问题
6.新建util模块,封装ajax
7.配置proxy代理
8.配置alias

/*二、书写页面逻辑*/
9.处理list页面逻辑,使用jq添加页面
10.处理detail页面

PS:
处理地址栏query参数可以使用query-string第三方库,特别简单
代码
1.搭建工程
package.json
json
{
  "name": "homework",
  "version": "1.0.0",
  "description": "",
  "main": "index.js",
  "scripts": {
    "dev": "webpack-dev-server",
    "build": "webpack --env.production",
    "test": "echo \"Error: no test specified\" && exit 1"
  },
  "keywords": [],
  "author": "",
  "license": "ISC",
  "devDependencies": {
    "clean-webpack-plugin": "^4.0.0",
    "copy-webpack-plugin": "5.1.1",
    "html-webpack-plugin": "4",
    "webpack": "4",
    "webpack-cli": "3",
    "webpack-dev-server": "3"
  },
  "dependencies": {
    "jquery": "^3.7.1",
    "query-string": "^6.14.1"
  }
}
webpack.common.js
js
const HtmlWebpackPlugin = require("html-webpack-plugin");
const CopyPlugin = require("copy-webpack-plugin");
const path = require("path");

module.exports = {
  entry: {
    list: "./src/views/list.js",
    detail: "./src/views/details.js",
  },
  output: {
    filename: "scripts/[name]-[chunkhash:5].js",
  },
  stats: {
    colors: true,
    modules: false,
  },
  //plugins
  plugins: [
    new HtmlWebpackPlugin({
      template: "./public/list.html",
      filename: "list.html",
      chunks: ["list"],
    }),
    new HtmlWebpackPlugin({
      template: "./public/detail.html",
      filename: "detail.html",
      chunks: ["detail"],
    }),
    new CopyPlugin([
      {
        from: "./public/css",
        to: "./css",
      },
      {
        from: "./public/img",
        to: "./img",
      },
    ]),
  ],
  //
  resolve: {
    alias: {
      "@": path.resolve(__dirname, "src"),
    },
  },
};
webpack.dev.js
js
module.exports = {
  mode: "development",
  devtool: "source-map",
  devServer: {
    open: true,
    openPage: "list.html",
    proxy: {
      "/api": {
        target: "https://study.duyiedu.com",
        changeOrigin: true,
      },
    },
  },
};
webpack.prod.js
js
const { CleanWebpackPlugin } = require("clean-webpack-plugin");

module.exports = {
  mode: "production",
  //plugins
  plugins: [
    //只在生产环境下清除dist文件夹,开发服务器启动的时候不清除
    new CleanWebpackPlugin(),
  ],
};
webpack.config,js
js
const base = require("./webpack.common");
const devConfig = require("./webpack.dev.js");
const prodConfig = require("./webpack.prod.js");

module.exports = (env) => {
  // 生产
  if (env && env.production) {
    const config = { ...base, ...prodConfig };
    /* 这里合并的时候会出现问题:
     commonConfig中已经配置了plugins,而prodConfig也配置了,两个不相同
     es6的...合并的时候,遇到相同的配置项会使用后一个覆盖前一个,即prodConfig覆盖了commonConfig
     */
    config.plugins = [...base.plugins, ...prodConfig.plugins];
    return config;
  } else {
    // 开发
    return {
      ...base,
      ...devConfig,
    };
  }
};
根目录/public 文件夹将 css 文件夹和 img 文件夹借助 copyPlugin 复制,暂时这样,之后会单独讲解 css 的处理方案。
代码书写
src/api/index.js
js
const API = {
  PROVINCE: "/api/citylist",
};

/**
 * 获取全部的省份
 */
export const getProvinceApi = async () => {
  return await fetch(API.PROVINCE).then((res) => res.json());
};
src/views/list.js
js
import { getProvinceApi } from "@/api";
import $ from "jquery";

const getProvince = async () => {
  const res = await getProvinceApi();
  console.log("省份", res);
  localStorage.setItem("province", JSON.stringify(res.data));
  init(res);
};

/**初始化dom */
function init(res) {
  const ul = $(".provinces");
  for (const p of res.data) {
    const li = $("<li>").appendTo(ul);
    const a = $("<a>").text(p.label).appendTo(li);
    a.prop("href", `detail.html?name=${p.label}&id=${p.value}`);
  }
}

getProvince();
src/views/detail.js
js
import queryString from "query-string";
import $ from "jquery";

const province = JSON.parse(localStorage.getItem("province"));
const parsed = queryString.parse(location.search);
appendDistrcts();
/**添加城市到页面 */
function appendDistrcts() {
  $(".title").text(parsed.name);
  const target = province.find((item) => item.value === parsed.id);
  target.children.forEach((district) => {
    $("<dd>").text(district.label).appendTo($("dl"));
  });
}
心得
在开发中,我们应该先把工程搭建好,该配置的都配置,搭建一个舒服的工作区。 之后再进行业务代码的开发,即 src 之间的逻辑。